Introduction to Raspberry Pi
The Raspberry Pi is one of the most innovative and exciting developments in the world of technology. The Raspberry Pi is a tiny computer that can fit on your credit card and is capable of fulfilling even your most ambitious technological fantasies. However, precisely what is it, and why has it captivated the interest of millions of people across the globe?
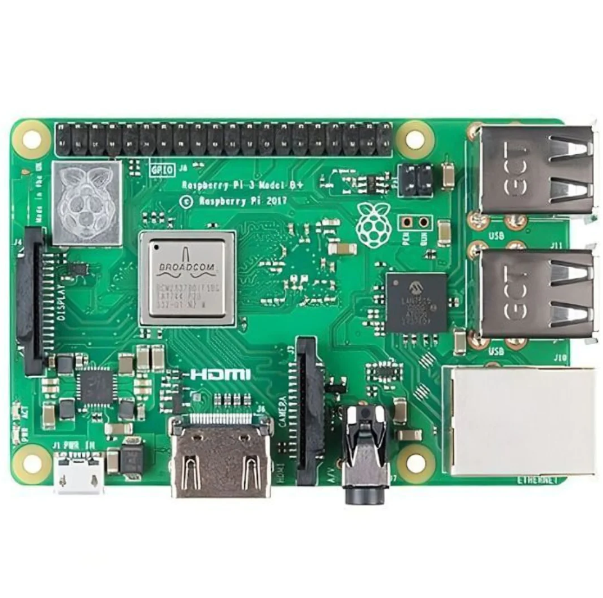
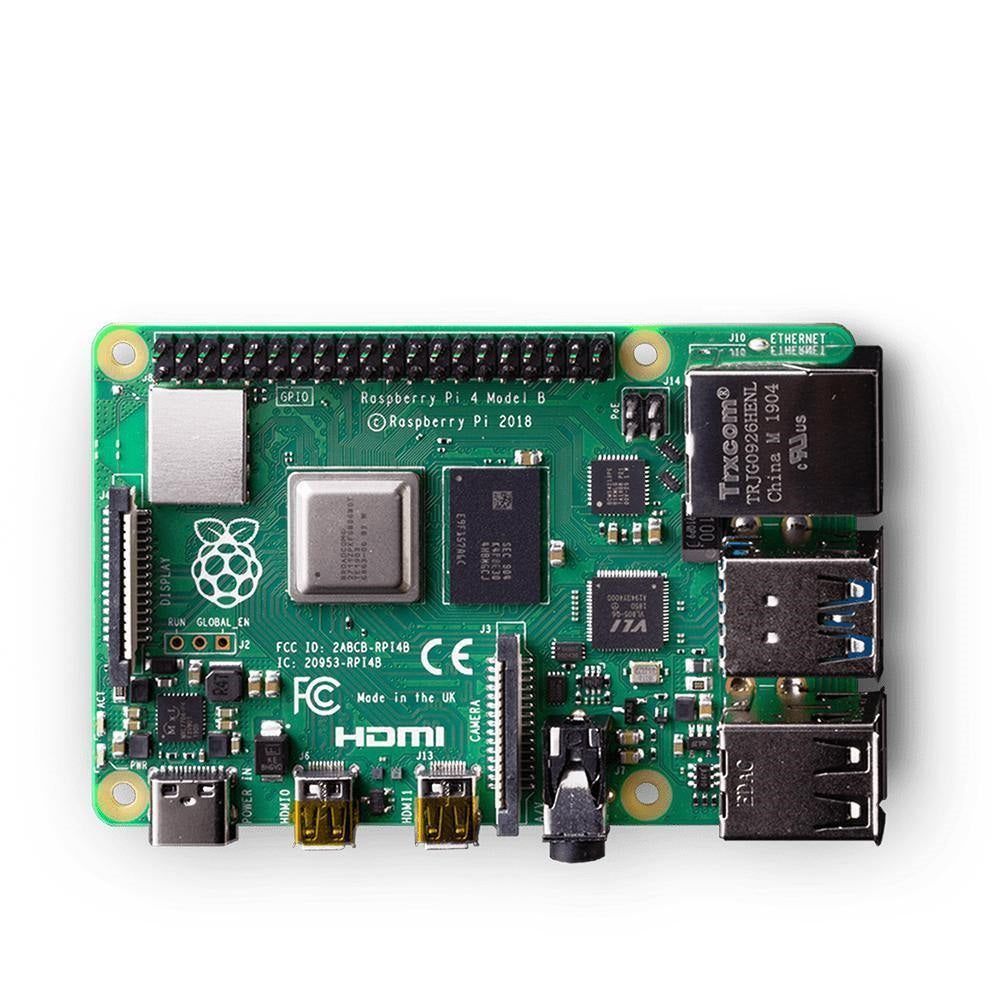
The Raspberry Pi range of cost-effective single-board computers has been developed by the UK-based nonprofit Raspberry Pi Foundation with the goal of encouraging everybody to gain knowledge of programming and make use of computers. Since its 2012 release, the Raspberry Pi has transformed computers, education, and DIY projects. Its CPU, RAM, GPU, USB ports, Ethernet, HDMI output, GPIO connections, and other features give it a powerful punch despite its plain design.
With an extensive software library and an intuitive UI, Raspbian is an operating system specifically designed for the Raspberry Pi, supporting its hardware. Though the ecosystem supports other languages like Java and C++, Python is the preferred language.
This adaptable platform draws in both novice and experienced programmers, enabling users to experiment with a range of projects, from IoT and home automation projects to vintage gaming consoles. The only thing stopping someone from using Raspberry Pi is their creativity.

An Overview of SPI and I2C Communication Protocols
Within the extensive field of electronics and embedded systems, communication protocols are essential for facilitating the seamless exchange of data among devices. Among these, two notable protocols with distinct advantages and applications are SPI (Serial Peripheral Interface) and I2C (Inter-Integrated Circuit).
SPI (Serial Peripheral Interface) utilizes a synchronous full-duplex communication mechanism and runs on a master-slave architecture. High-speed data transfer speeds are made possible by the four lines it uses: SCK (Serial Clock), MISO (Master In Slave Out), SS/CS (Slave Select/Chip Select), and MOSI (Master Out Slave In). Applications requiring quick data interchange, such integrating with displays, ADCs (Analog-to-Digital Converters), and flash memory, are where SPI finds its niche.
On the other hand, I2C (Inter-Integrated Circuit) utilizes a two-wire interface consisting of SDA (Serial Data) and SCL (Serial Clock) lines and has a multi-master, multi-slave design. With the help of this synchronous serial communication protocol, you can communicate with several devices that are linked to the same bus and have separate addresses. Low-speed peripherals like sensors, EEPROMs (Electrically Erasable Programmable Read-Only Memory), and RTCs (Real-Time Clocks) are ideal for I2C connectivity.

Enabling SPI and I2C Interfaces on Raspberry Pi
Prior to exploring the realm of SPI and I2C communication, it is imperative to confirm that the Raspberry Pi's interfaces are enabled and configured. In order to give priority to security and resource management, these interfaces are frequently blocked by default. You can use the Raspberry Pi Configuration tool (‘raspi-config’) or directly change the ‘/boot/config.txt’ file to enable them.
Using ‘raspi-config’:
- Access ‘raspi-config’ by running ‘sudo raspi-config’ in the terminal.
- Navigate to “Interfacing Options” and select “SPI” or “I2C” to enable the respective interface.
- Follow the prompts, save changes, and reboot the Raspberry Pi for the modifications to take effect.
Manual configuration using ‘/boot/config.txt’:
1. Open the file using a text editor (‘sudo nano /boot/config.txt’).
2. Uncomment the lines related to SPI or I2C and set them to “on”. dtparam=spi=on dtparam=i2c_arm=on
Python libraries make it easier to interact with linked peripheral devices once the interfaces are enabled.
For SPI communication, the ‘spidev’ library is instrumental. Install it using pip. Sudo pip install spidev
For I2C communication, the ‘smbus’ library is commonly employed. Install it via: Sudo apt-get install python-smbus
Once the libraries are installed and the interfaces are enabled, Python programs may be created to interact with peripherals. To send and receive data via the SPI or I2C bus, respectively, use the functions offered by the ‘spidev’ or ‘smbus’ libraries. For information on individual protocols and command requirements, it is essential to refer to the datasheets and documentation of linked devices.
Unlocking Potential with I2C and SPI
Key elements that facilitate smooth communication between the Raspberry Pi and other peripheral devices are the I2C (Inter-Integrated Circuit) and SPI (Serial Peripheral Interface) interfaces. Their adaptability is in their capacity to enable data flow between the Raspberry Pi and a broad variety of external devices, rendering them important in an array of applications spanning several domains.
Serial Peripheral Interface (SPI):
- Display Interfaces: In particular, TFT LCD panels are frequently interfaced with SPI display modules. Owing to SPI's faster data rates than I2C, these displays are a good option if high-speed data transfer is necessary for fluid graphics rendering.
- Memory Devices: SPI provides interfaces for a variety of memory devices, including EEPROMs and flash memory chips (like SPI NOR Flash). These devices are frequently used to store non-volatile data such as configuration information or program code.
- Sensor Integration: Some sensors use SPI as their interface, especially those that need to acquire data quickly. Gyroscopes, accelerometers, and certain digital temperature sensors are a few examples. The Raspberry Pi and these sensors can communicate with each other efficiently by virtue of SPI's full-duplex communication capabilities.
- ADCs and DACs: SPI connections are frequently used to connect analog-to-digital converters (ADCs) and digital-to-analog converters (DACs) for the creation and acquisition of analog signals. SPI is appropriate for real-time conversion operations due to its speed and bidirectional connection.
- Wireless Communication: Certain wireless modules, like RF transceivers and WiFi/Bluetooth modules, interface with SPI. Fast data transmission rates are necessary for these modules to send and receive wireless data packets.
I2C (Inter-Integrated Circuit):
- Sensor Networks: I2C is frequently used in Raspberry Pi applications to integrate sensor networks. I2C is a common protocol for temperature, humidity, pressure, and proximity sensors since it's easy to use and allows several devices to be connected to the same bus.
- Real-Time Clocks (RTCs): RTC devices, which allow precise timekeeping even when the Raspberry Pi is off, interact with I2C. These modules are employed in applications that require scheduling or timestamping, and they usually come with a battery backup.
- EEPROM Storage: I2C EEPROMs are used to store parameters that must be kept even in the event of a power outage, such as configuration information or calibration values. These gadgets have non-volatile storage and an I2C interface that makes interacting with the Raspberry Pi simple.
- LED Drivers: For the purpose of regulating the color and brightness of LEDs in RGB LED displays, lighting systems, and other applications, some LED driver integrated circuits (ICs) provide I2C communication. With I2C, LEDs that are linked to the driver individually or in groups can be precisely controlled.
- Peripheral Expansion: I2C is frequently used to connect different peripherals, like analog-to-digital converters, GPIO expanders, and port expanders, to the Raspberry Pi in order to increase its functionality. As a result, adding more functionality is simple to integrate and doesn't require a lot of GPIO pins.
Conclusion:
To sum up, the Raspberry Pi's SPI and I2C interfaces are the unsung heroes of the maker and enthusiast community, opening doors to a world of limitless possibilities. These interfaces are essential to many projects, from IoT advancements to robotics projects, as they provide seamless connection with a wide range of peripheral devices.
SPI and I2C enable you to realize your ideas, whether you're a professional engineer pushing the limits of technology or just a hobbyist dabbling in your garage. These interfaces enable the Raspberry Pi ecosystem to reach its full potential by promoting data transfer, integrating custom peripherals, driving displays, extending memory, and interacting with sensors.
The flexibility of SPI and I2C interfaces guarantees that innovation and creativity will always have a place to thrive as we continue to push the boundaries of technology. With SPI and I2C at your disposal, the possibilities are virtually limitless, whether your goal is to automate your home or to design the next revolutionary Internet of Things gadget. Together, let's continue to push the envelope and shape the future. Have fun creating!