What are Solder Seal Connectors?
Solder seal butt connectors are a game-changer for anyone working with wiring projects. These innovative connectors use heat to create a waterproof, soldered connection between two wires, eliminating the need for traditional crimp connectors or the hassle of soldering and heat shrink tubing.
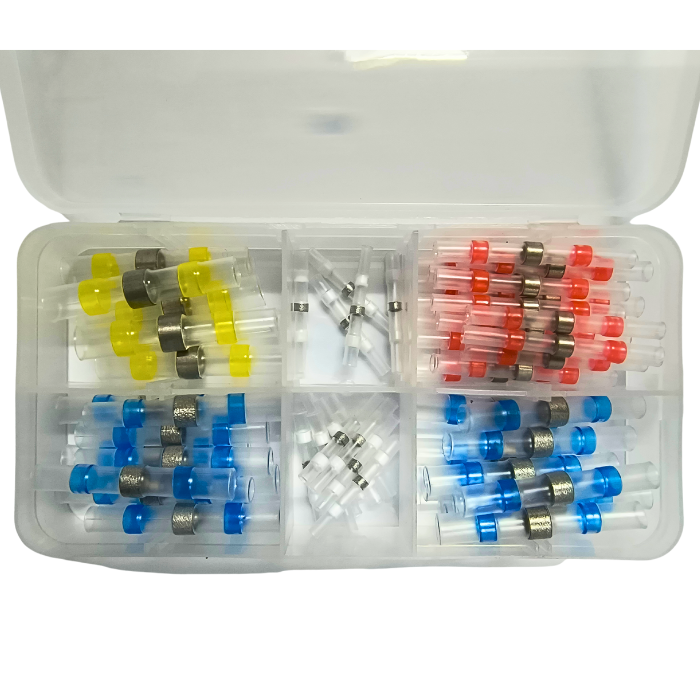
At their core, solder seal connectors are simple yet ingenious devices. They consist of a clear heat shrink tubing with a low-temperature solder ring in the middle, surrounded by heat-activated adhesive rings on either side. These adhesive rings are color-coded to indicate the appropriate wire gauge for that specific connector size.

The beauty of solder seal connectors lies in their integrated design. Everything you need to create a secure, weatherproof wire connection is contained within a single, compact unit. No more juggling separate components or worrying about misplacing parts – it's an all-in-one solution that streamlines the wire splicing process.
Benefits of Solder Seal Connectors
One of the biggest advantages of solder seal connectors is their waterproof and weatherproof design. Unlike crimp connectors, which can corrode and fail over time due to moisture exposure, solder seal connectors create a sealed, moisture-resistant connection that can withstand the harshest environments.
Whether you're working on automotive wiring exposed to the elements or outdoor electrical projects, you can have peace of mind knowing your connections are protected. In addition to their weather-resistant properties, solder seal connectors are significantly stronger and more secure than traditional crimp connectors. The soldered connection created by these connectors is virtually unbreakable, ensuring your wiring stays firmly connected and can't be easily pulled apart, even under tension or vibration.

But the benefits don't stop there. Solder seal connectors are also remarkably easy to use, especially when compared to traditional soldering methods. There's no need for a soldering iron, tanning wires, or trying to hold everything in place while you solder. The process is straightforward and requires minimal practice or special skills. And unlike heat shrink tubing, which can be bulky and difficult to work with, solder seal connectors have a compact and flexible design that makes them ideal for tight spaces. The slim profile of these connectors allows you to tuck them neatly into wire harnesses or cramped areas without creating unsightly bulges or protrusions.
How Solder Seal Connectors Work
Construction and Components
At the heart of a solder seal connector is a clear heat shrink tubing with a low-temperature solder ring in the middle. This solder ring is designed to melt and flow into the wire strands when heated, creating a secure, soldered connection.
On either side of the solder ring are heat-activated adhesive rings. These adhesive rings serve two important purposes: first, they help identify the appropriate wire gauge for that specific connector size through color-coding; and second, they provide a weatherproof seal around the wire insulation when heated, preventing moisture from entering the connection.
Step-by-Step Installation Process

Using solder seal connectors is a straightforward process that requires minimal tools and experience:
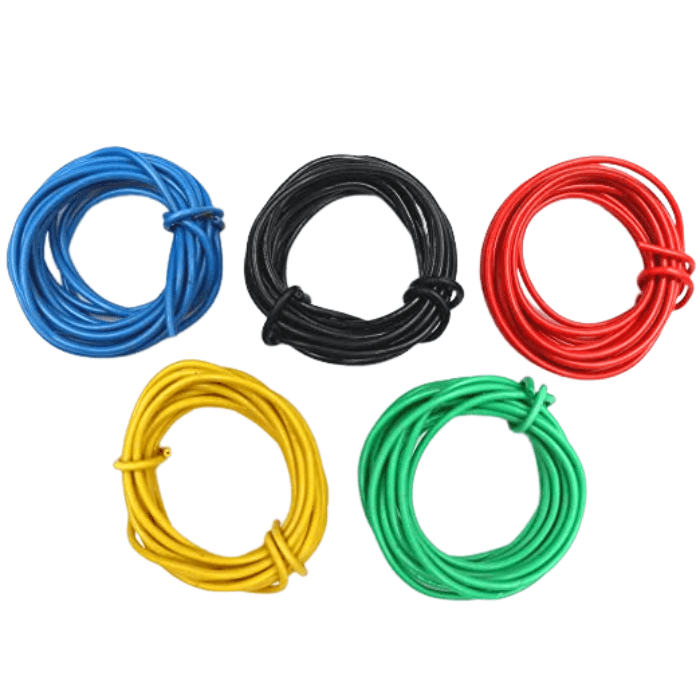
- Strip and Intertwine the Wire Ends: Begin by stripping the insulation off the ends of the wires you wish to connect, exposing the bare copper strands. Twist the exposed strands together to ensure good contact between the two wires.
- Slide on the Connector: Take your solder seal connector and slide it over one of the wire ends, ensuring that the bare, twisted wires from both sides are protruding into the center of the connector.
- Position the Solder Ring: Adjust the connector so that the solder ring is centered over the splice, with the bare, twisted wire ends extending into the solder ring area.
- Apply Heat Evenly: Using a high-temperature heat gun capable of reaching temperatures between 750-1110°F (399-593°C), apply heat evenly around the circumference of the connector. As you heat it, you'll notice the clear tubing beginning to shrink.
- Watch for the Solder Flow: Continue heating until the solder ring shrinks and you can see the silver solder flowing into the twisted wire strands, creating a solid, soldered connection. The adhesive rings will also activate, sealing the connector to the wire insulation and creating a waterproof barrier.
- Allow to Cool: Once the solder has flowed and the adhesive has activated, remove the heat and allow the connector to cool completely before handling or installing the wired connection.
It's important to note that while the process is straightforward, proper heat application is crucial. Applying too little heat can result in an incomplete solder flow or inadequate adhesive activation, compromising the integrity of the connection. Conversely, overheating can damage the wires or connector.
Following the recommended temperature range and heating evenly is key to achieving a reliable, long-lasting solder seal connection.
Advantages Over Traditional Methods
Compared to Crimp Connectors
Solder seal connectors offer several significant advantages over traditional crimp connectors:
- Waterproof and Weatherproof: The sealed design of solder seal connectors, with the heat-shrink tubing and adhesive rings, prevents moisture and corrosion from affecting the wire connection. Crimp connectors, on the other hand, are susceptible to environmental factors and can degrade over time, leading to potential failures.
- Stronger Connection: The soldered connection created by solder seal connectors is virtually unbreakable, ensuring your wiring stays firmly connected even under tension or vibration. Crimp connectors, while strong, can still be pulled apart if enough force is applied.
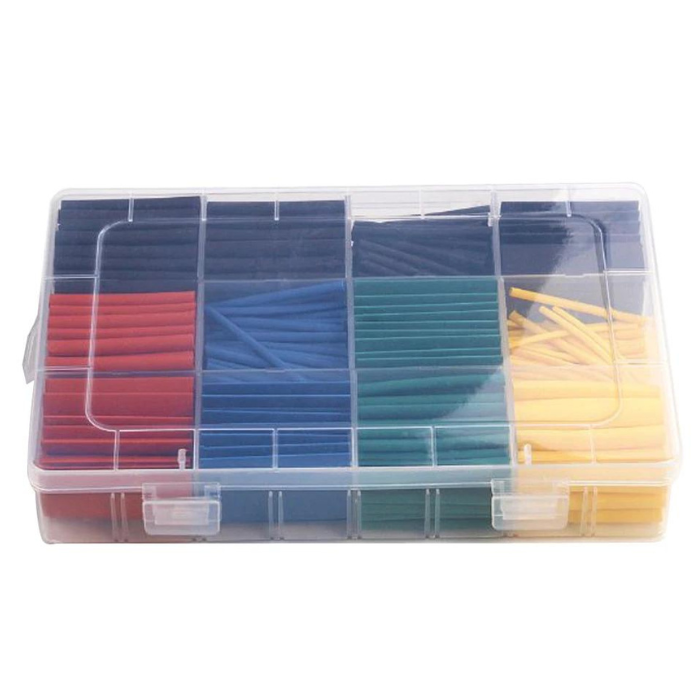
- More Compact and Flexible: The flexible heat shrink tubing used in solder seal connectors creates a sleek, low-profile connection that can be easily tucked into tight spaces or wire harnesses. Crimp connectors, on the other hand, can be bulky and rigid, making them more challenging to work with in confined areas.
Compared to Soldering and Heat Shrink Tubing
While soldering and heat shrink tubing have been a go-to method for creating secure wire connections, solder seal connectors offer several advantages over this traditional approach:
- Fewer Steps: With solder seal connectors, you don't need to tin the wire ends, hold them steady while soldering, or apply heat shrink tubing as a separate step. The entire process is streamlined into a single, integrated solution.
- No Soldering Iron Needed: Solder seal connectors eliminate the need for a soldering iron, which can be cumbersome and potentially hazardous if not used properly. The self-contained connector has the solder and adhesive built-in, requiring only a heat gun for activation.
- More Convenient: Soldering and heat shrink tubing can be a fiddly and time-consuming process, especially in tight spaces or overhead situations. Solder seal connectors offer a more convenient and user-friendly alternative, allowing you to create professional-quality wire connections with minimal effort.
Tips for Using Solder Seal Connectors
While solder seal connectors are designed to be easy to use, there are a few key tips and best practices to keep in mind to ensure optimal results:
Choosing the Right Connector Size
To ensure a proper connection, it's essential to choose the right solder seal connector size for your wire gauge. Matching the color-coded adhesive ring to the gauge of your wires is crucial, as using the wrong size connector can lead to a poor or incomplete connection.

Refer to the manufacturer's recommendations and use the specified wire gauge range for each connector size. Don't try to force a connector onto a wire that's too large or too small – using the appropriate size will ensure a secure fit and reliable solder flow.
Proper Heat Application
Applying heat properly is one of the most critical aspects of using solder seal connectors successfully. Here are a few tips for optimal heat application:
- Use a high-quality, high-temperature heat gun capable of reaching temperatures between 750-1110°F (399-593°C). Cheaper or underpowered heat guns may not provide sufficient heat for the solder to flow properly.
- Apply heat evenly around the circumference of the connector. Concentrate the heat on the solder ring area, but be sure to rotate the connector or move the heat gun around to ensure even heating.
- Be patient and allow the solder to fully flow into the wire strands. You'll know the solder has flowed properly when you see the silver solder visible.

Preparing the Wire Ends
Proper wire preparation is also crucial for achieving a reliable solder seal connection. Here are some tips for preparing the wire ends:
- Use a high-quality wire stripper or utility knife to carefully remove the insulation without nicking or damaging the copper strands underneath. Damaged or frayed strands can compromise the connection.
- Strip just enough insulation to expose the recommended length of bare wire for your connector size. Over-stripping can lead to excess bare wire protruding from the connector, increasing the risk of shorts or electrical hazards.
- Twist or intertwine the bare wire ends tightly before inserting them into the connector. This ensures good metal-to-metal contact between the wires, allowing the solder to flow smoothly and create a strong connection.
- For stranded wires, avoid spreading or separating the individual strands too much, as this can make it difficult to achieve a tight, cohesive splice.
By taking the time to properly prepare the wire ends, you'll set yourself up for a successful solder seal connection that is secure, reliable, and long-lasting.
Working in Tight Spaces
One of the advantages of solder seal connectors is their compact design, which makes them well-suited for use in tight spaces or confined areas. However, working in these environments can still present some challenges. Here are a few tips for using solder seal connectors in tight spaces:
- Use a flexible, narrow heat gun nozzle or attachment to reach into tight areas and apply heat precisely where needed.
- Consider using a smaller connector size if available, as these will have an even slimmer profile for accessing cramped locations.
- Plan your wire routing carefully to ensure you have enough room to maneuver and access the connector during the heating process.
- If space is extremely limited, you may need to pre-assemble the connector onto the wires before feeding them into the tight area, then apply heat once everything is in position.
With a bit of patience and creative maneuvering, solder seal connectors can be used effectively in even the most confined spaces, thanks to their compact and flexible design.
Conclusion
Solder seal connectors offer a convenient, reliable, and weatherproof solution for wire splicing and repairs. Their ease of use, compact design, and strong soldered connection make them a superior alternative to traditional crimp connectors or soldering and heat shrink tubing.
Whether you're working on automotive wiring, household electronics, or DIY projects, solder seal connectors are a valuable addition to your toolbox, providing a hassle-free way to create secure, long-lasting wire connections. With their integrated design, waterproof sealing, and robust soldered joints, these connectors are built to withstand the toughest environments and deliver reliable performance year after year.
By following the tips and best practices outlined in this article, you'll be able to take full advantage of the benefits that solder seal connectors offer. From choosing the right connector size and properly preparing the wire ends, to mastering the heat application process and working in tight spaces, attention to detail is key to achieving professional-quality results. So, whether you're a seasoned DIYer, professional electrician, or just looking for a better way to splice wires, consider giving solder seal connectors a try on your next project. You may never go back to traditional crimp connectors or soldering ever again.