Introduction
The ESP32 microcontroller is a tiny powerhouse that is transforming the way we interact with and perceive smart things in the ever-growing realm of IoT (Internet of Things).
This tiny yet powerful microcontroller from Espressif Systems is quite appreciated by engineers, tech enthusiasts, and hobbyists as a result of its amazing features and adaptability. Let's explore the features that make the ESP32 a popular option for IoT projects.

- Dual-Core Processing Power: The dual-core processor that powers the ESP32 is its main component and can handle demanding tasks with ease. This feature improves responsiveness and overall performance by enabling multitasking, where one core can handle communication chores while the other handles application logic.
- Wireless Connectivity: Hardware integration is made easier by the ESP32's integrated Wi-Fi and Bluetooth capabilities, which do not require extra modules. Seamless connectivity with a variety of devices and networks is ensured by its support for Bluetooth Classic and Low Energy (BLE) as well as Wi-Fi 802.11 b/g/n.
- A wide range of peripheral interfaces, such as SPI, I2C, UART, GPIO, and others, are available on the ESP32.
- Low Power Consumption: When implementing IoT, efficiency is crucial, particularly for devices that run on batteries. With the help of the ESP32's sophisticated power management capabilities, which include low-power sensors and several power modes, developers can maximize energy efficiency and extend battery life.
- IoT systems must have strong security, and the ESP32 has strong security built in to protect devices and data. In order to reduce risks and vulnerabilities, it supports a number of cryptographic protocols, secure boot, flash encryption, and hardware-accelerated encryption.
- The ESP32 is affordable even with its robust features, making hobbyists, startups, and large corporations able to use it. Because of its cost, IoT development has a lower entrance hurdle, which encourages experimentation and innovation in the sector.
- Programming languages and development environments such as Arduino, MicroPython, and ESP-IDF (Espressif IoT Development Framework) are all compatible with the ESP32.
- The ESP32 provides a wide development ecosystem and is supported by a lively community. The process of prototype and deployment is streamlined for developers by the availability of extensive libraries, frameworks, and development tools.
Linking the ESP32 to a WiFi network serves as one of the crucial initial phases in making use of its capabilities. In this guide, we'll step through setting up an ESP32 for WiFi connectivity.
The ESP32 chip has a lot of functions and capabilities when it comes to Wi-Fi. Some key aspects of ESP32 Wi-Fi are:
- The IEEE 802.11 standard, which includes 802.11b, 802.11g, 802.11n, and in certain variants, 802.11ac, is supported by the ESP32.
- The ESP32 is capable of functioning in two modes at the same time: station mode and access point (AP) mode. The ESP32 joins an already-existing Wi-Fi network when it is in station mode. It functions as a Wi-Fi access point when in AP mode, enabling connections from other devices.
- For Wi-Fi connection, the ESP32 supports a number of security protocols, such as WEP, WPA/WPA2-PSK, and WPA/WPA2-Enterprise. Secure communication over Wi-Fi networks is ensured by these protocols.
- The ESP32's Wi-Fi communication performance is contingent upon a number of parameters, including interference, signal strength, and ambient circumstances. Still, it provides a good enough range and throughput for the majority of IoT applications.
- The ESP32 optimizes Wi-Fi connectivity while consuming the least amount of energy by including power-saving technologies. For Internet of Things devices that run on batteries and prioritize power efficiency, this is essential.
- Furthermore, the ESP32 is compatible with cutting-edge capabilities like Wi-Fi Direct, which permits peer-to-peer communication between devices without requiring a conventional Wi-Fi network setup.
ESP32 WiFi Connection Guide: Step-by-Step
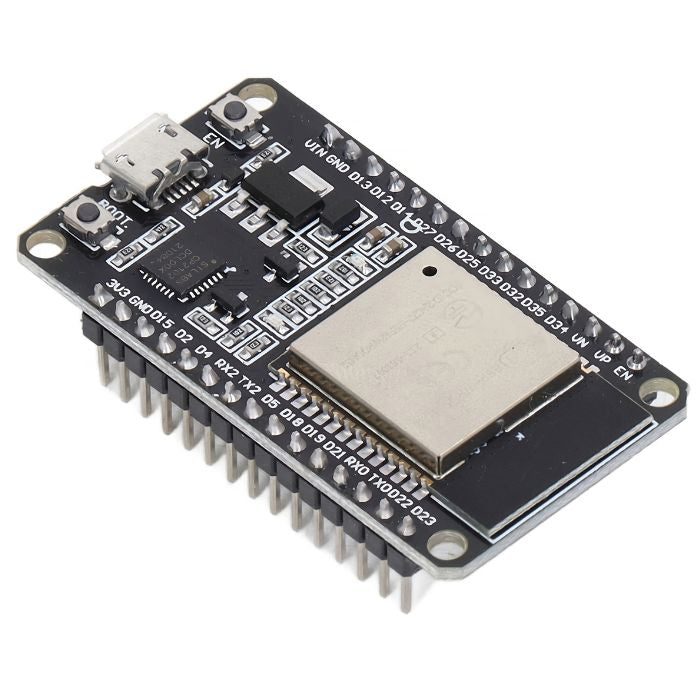
Step-1: Setup Hardware
Make sure your ESP32 is connected to your development board or setup correctly before starting the software. Verify the wiring again to rule out any hardware problems that could interfere with the connection process. Make sure you have the following before we commence the process of connecting the ESP32 to WiFi:
- An ESP32 development board
- A USB cable for power and programming
- Access to WiFi network and it’s credentials (SSID and Password)
- A computer with the Arduino IDE installed.
Step-2: Install Required Libraries
You must include the necessary libraries in your ESP32 project in order to enable Wi-Fi capability. The ESP32 Arduino Core, offered by Espressif Systems, has ESP32 microcontroller functionality. Alternatively, the core can be installed manually in your Arduino IDE by downloading it as a ZIP file from the Espressif GitHub repository, without the need for the Library Manager. Here's how to go about it:
- Visit the github repository for the ESP32 Arduino Core: https://github.com/espressif/arduino-esp32
- Download the repository as a zip file by clicking on the “Code” button and selecting “Download ZIP”.
- Open your Arduino IDE, go to “Sketch” > “Include Library” > “Add. Zip Library…”.
- Select the downloaded ZIP file and click “Open” to install it. • Ensure that you are using the latest version of the Arduino IDE.
Step-3: Include Wi-Fi Library
To incorporate the Wi-Fi library into your Arduino sketch, start your code with the following line:

Step-4: Initialize Wi-Fi Connection

Next, in your setup function, you must initialize the Wi-Fi connection. To join your Wi-Fi network, use the ‘WiFi.begin()’ function. Here's a simple illustration:
Enter your Wi-Fi network credentials in place of "YourNetworkSSID" and "YourNetworkPassword".
Step-5: Verify Connection
Using the WiFi.status() function, you may check the connection status once the ESP32 is linked to the wireless network. When a connection is made successfully, this function returns WL_CONNECTED. To verify connectivity, you can alternatively print the IP address of the ESP32:

Step-6: Further Enhancements
You might need to add further functionalities, such dynamic network configuration management or Wi-Fi rejoining in case of a lost connection, depending on the specifications of your project.
Conclusion
Developing IoT projects requires you to connect your ESP32 to a Wi-Fi network. By following the easy instructions in this guide, you can rapidly get your ESP32 up and operating, enabling it to communicate via the internet and carry out different tasks according to the requirements of your project. Try out several setups and discover all of the amazing things that the ESP32 platform has to offer for your next IoT project.