


Introduction
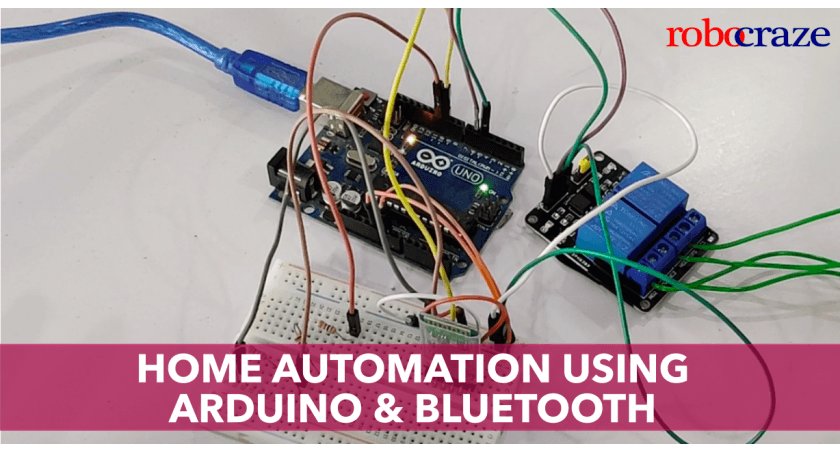
In this blog, we will show you how to get started with a simple home automation project wherein you will be able to control your home appliances with the help of your smartphone using Bluetooth.
We will be using the Arduino UNO development board as the microcontroller in this tutorial, however, it can be easily swapped for a micro-controller of your choice ( Note that though if you use a controller outside the Arduino family, the code will have to be appropriately modified).
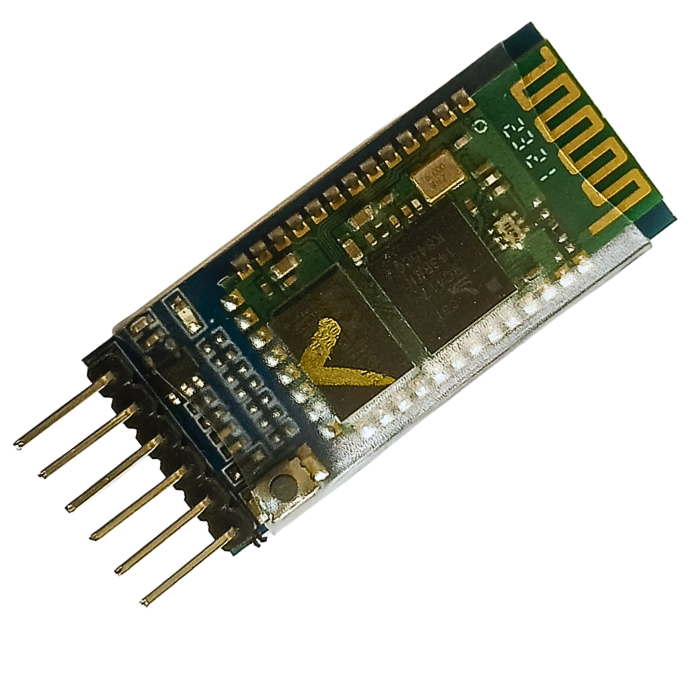
To add Bluetooth functionality, we will use the HC-05 Bluetooth module. This will help us to communicate with other Bluetooth devices such as your smartphone and exchange messages between your smartphone and the Arduino UNO development board.
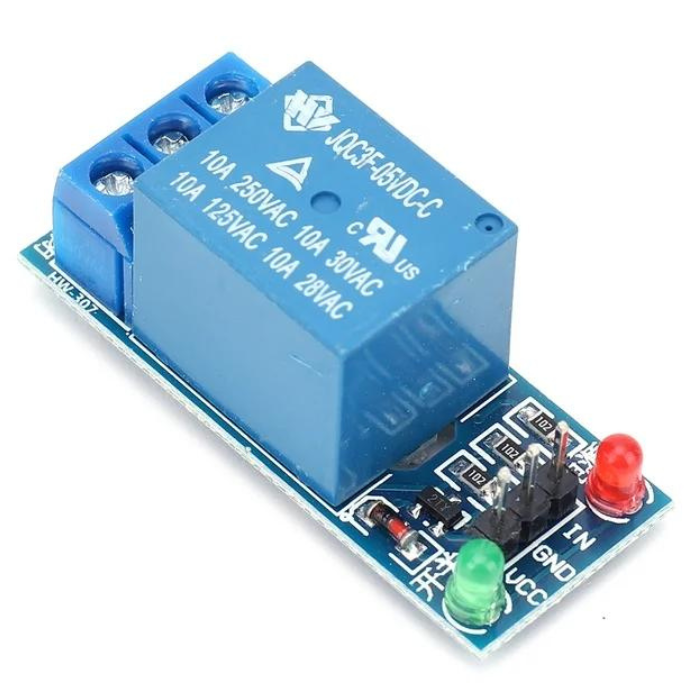
Since we are controlling AC appliances, we will require a Relay module as well because AC appliances work on a much higher voltage and cannot be directly controlled by the Arduino UNO development board (or any other embedded device). Ensure that the maximum voltage and current ratings of the appliance being controlled are well within the range of the rated voltage and current of the relay module.
Also, read our blog on What is Relay in Electrical explaining what is it, how does it works, its construction, different types of relays, and applications.
read more : How to Setup Fingerprint Sensor with Arduino
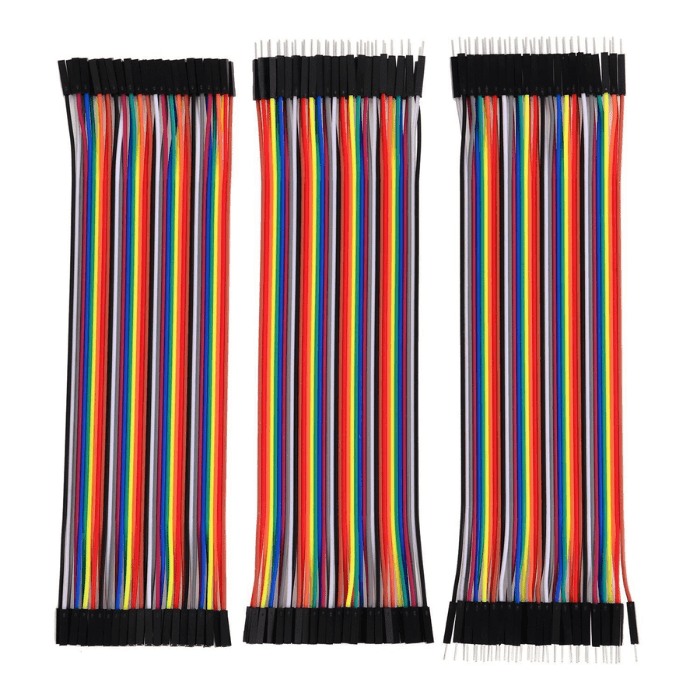
Components Required
Circuit Diagram

- Connect the TX pin of the HC-05 module to pin number 10 on the Arduino UNO
- Connect the RX pin of the HC-05 module to pin number 11 on the Arduino UNO
- Connect one of the relays signal pins to pin number 5 and the other relays signal pin to pin number 6 on the Arduino Uno
- Connect the Vcc pins of the Bluetooth module and relays to the Vcc of the Arduino UNO
- Connect the GND pins of the Bluetooth module and relays to the GN pin of the Arduino UNO
read more : Smart Dustbin using Arduino
Code
#include <softwareserial.h> //Software Serial Library
SoftwareSerial EEBlue(10, 11); // RX | TX
int relayPin1 = 5;
int relayPin2 = 6;
String command;

void setup()
{
  Serial.begin(9600);
  EEBlue.begin(9600);  //Default Baud for comm, it may be different for your Module.
  Serial.println("The bluetooth gates are open.\n Connect to HC-05 from any other bluetooth device with 1234 as pairing key!.");
  pinMode(relayPin1, OUTPUT);
  pinMode(relayPin2, OUTPUT);
  digitalWrite(relayPin1, HIGH);  //Relay Pins are active LOW
  digitalWrite(relayPin2, HIGH);
}

void loop()
{

  // Feed any data from bluetooth to Terminal.
  if (EEBlue.available()){

    String command = EEBlue.readStringUntil("\r\n");
    Serial.println(command);

    if (command.indexOf("ON1") >= 0) {
      digitalWrite(relayPin1, LOW);
      Serial.println("Turning ON Relay 1");
    }

    if (command.indexOf("OFF1") >= 0) {
      digitalWrite(relayPin1, HIGH);
      Serial.println("Turning OFF Relay 1");
    }

    if (command.indexOf("OFF2") >= 0) {
      digitalWrite(relayPin2, HIGH);
      Serial.println("Turning OFF Relay 2");
    }

    if (command.indexOf("ON2") >= 0) {
      digitalWrite(relayPin2, LOW);
      Serial.println("Turning ON Relay 2");
    }
  }
  // Feed all data from terminal to bluetooth
  if (Serial.available())
    EEBlue.write(Serial.read());
}
Video
read more : How 433MHz RF Module Works & Interfacing With Arduino
Conclusion:
In a world rapidly embracing technological innovation, home automation has emerged as a game-changer. By harnessing the power of Arduino and Bluetooth, we've ventured into a realm where the ordinary transforms into the extraordinary. Armed with insights from our journey through the introduction, components, circuit diagram, and code, you're now equipped to elevate your living space. But don't just take our word for it – witness the magic unfold in our accompanying video. Step into a future where convenience meets elegance. Embrace the endless possibilities of home automation – it's time to make your home smarter, one Arduino pulse at a time. Click, watch, and redefine your living experience today!
If you appreciate our work don't forget to share this post and leave your opinion in the comment box.
Please do check out other blog posts about Popular electronics
Make sure you check out our wide range of products and collections (we offer some exciting deals!)


1 comment
Good projects